
The folding technique i used in early workshops was on a lesser quality (thickness) of paper and not on a large a scale. This meant the folding was harder and in some cases needed to be scored in order to achieve the same outcome. The paper was first pleated along the lenght of the sheet. The length depended on how flexible i wanted it (the shorter the less flexible it was) and the width was kept at just under 12 inches allowing the same thickness and size of folds along the design.

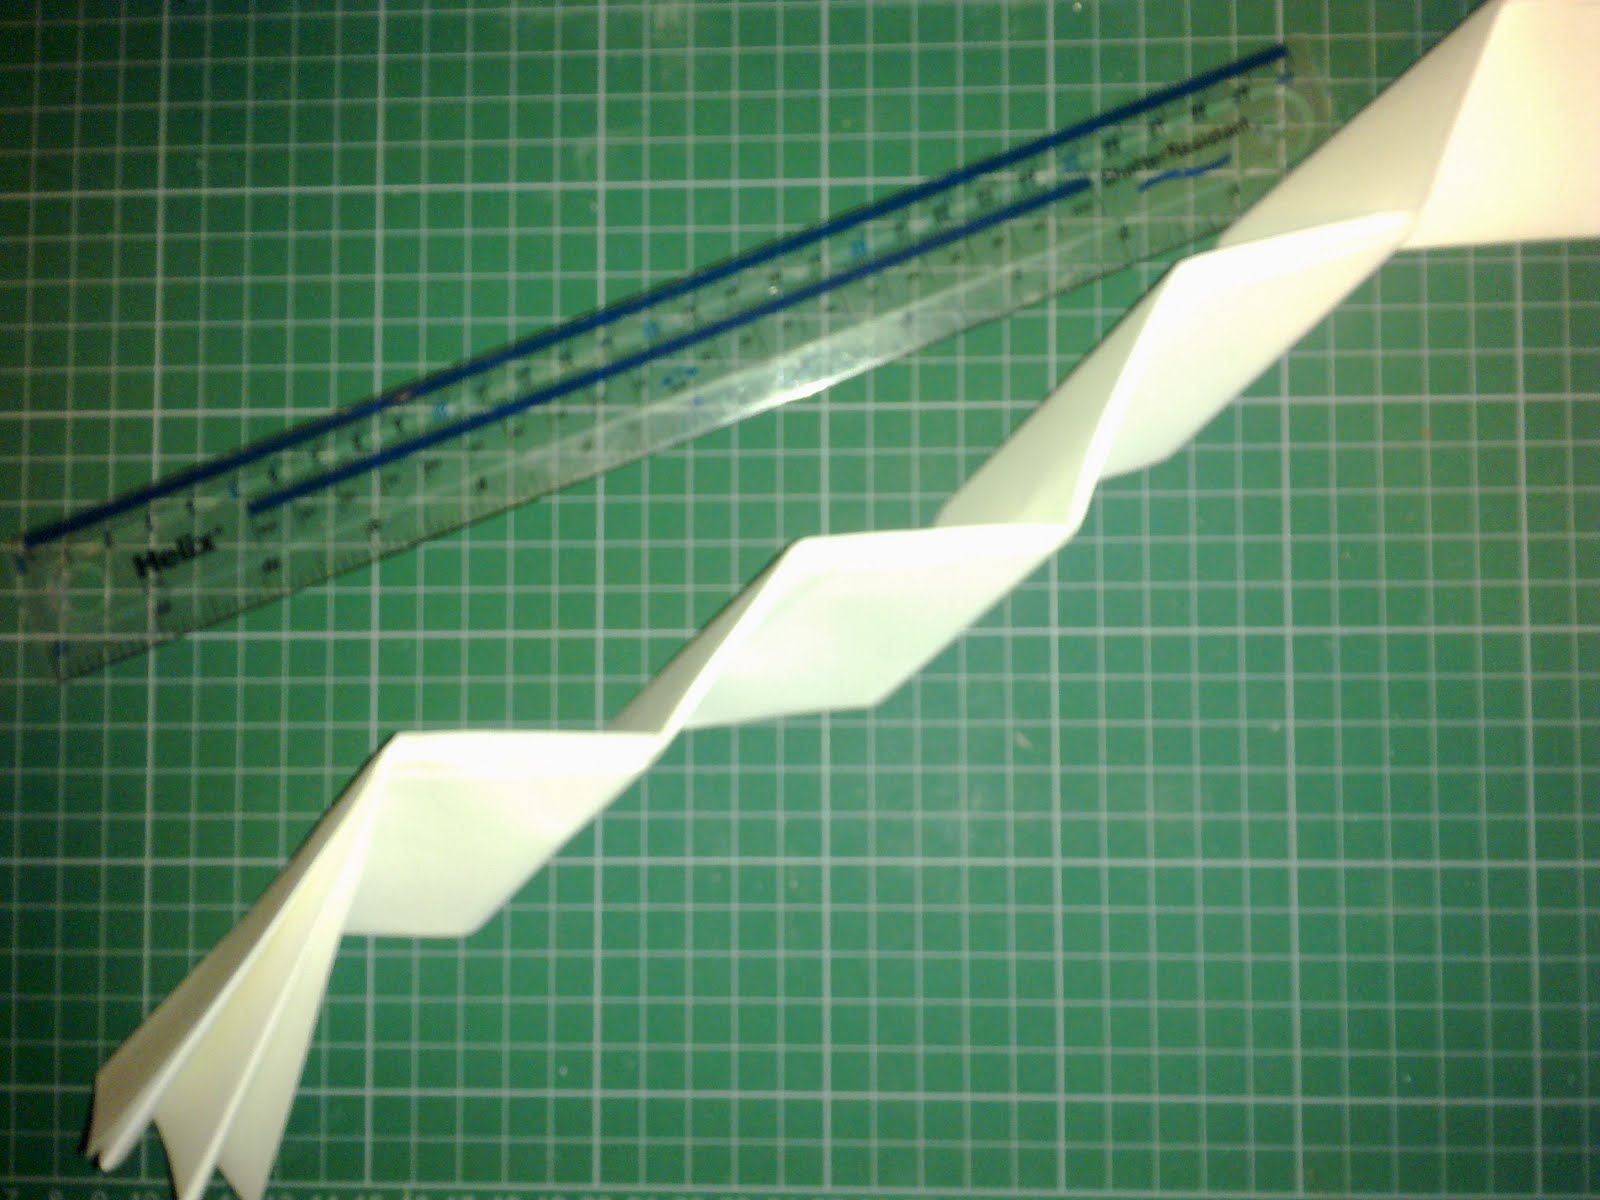
After being pleated the paper was collected together and from the top was folded over
to create a right angle and a triangular style shape at the top. This was repeated but
folded the opposite way down the length of the paper until you got to a stage shown
in the image above where no more folds could be made. These were then folded over
on themselves and if needed scored so that the fold was flexible and could move in
either direction.

This was then flattened out into what would become a flat sheet of paper again,
however the folds and scores are clearly visible and serve as guidelines for the structure.

Along the width of the sheet via the zig zag lines, they were allternatly raised up or
pushed down. This in turn with the a-joining length lines would start to create the basic
structure and folds of the final piece.

After these had been strengthened by comacting together and the folds being made
more rigid by pressure the ends were cut off as shown above at one end enabling
the different sheets to be attached together shown below. I originally just used glue
to attach them however due to the flexible nature of the final structure and also to
my suprise its weight glue was not enough and selotape had to be added aswell.
Staples were not an option as it did need some flexibility and certain areas were
not accesible with one.

No comments:
Post a Comment